video
Calibrate your monitor to give your video the best possible colour.
Don’t risk miscorrecting your colours. Learn how to manage your computer monitor’s colour settings so your video stays true to your vision.
Start free trial | Start free trial {{premiere}} Explore {{premiere}}

What is monitor calibration?
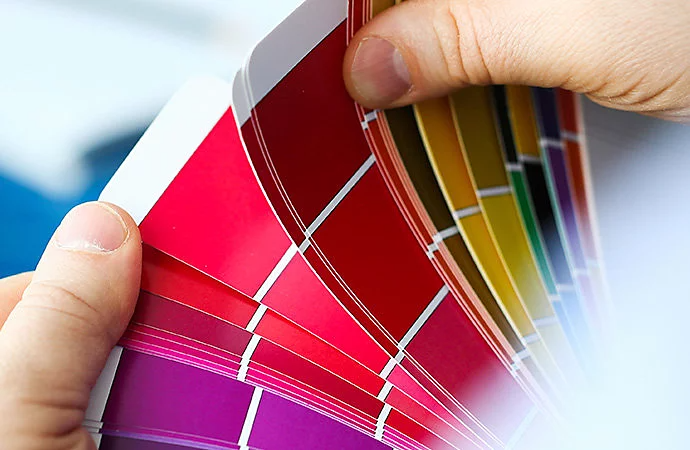
Monitor or display calibration is the process of aligning your screen’s colours with the standards set by the RGB (red, green, blue) colour model. This model dates back to the nineteenth century, but it’s also the standard for most TVs and computers. Since nearly every screen works on the RGB model, if you correct colour on a properly calibrated screen, you’re giving your work the best chance at appearing how you want it to on other people’s screens.
Where to start your colour calibration.
Neither online calibration software nor the calibration tools that come with your Windows or Mac operating system will help you to obtain accurate colour. These programmes rely on your eye and eyes are subjective.
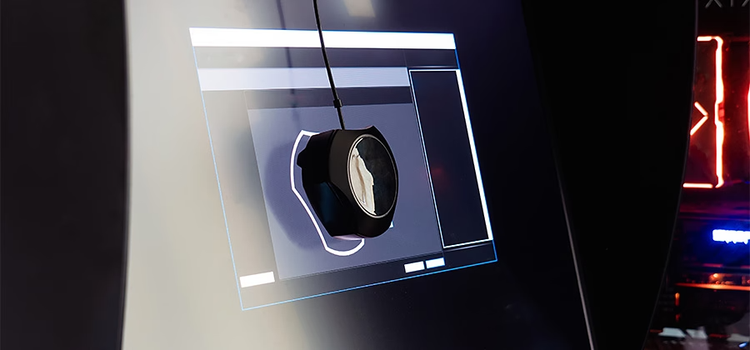
For objectively accurate colour, you need to use a colorimeter. A colorimeter is a small calibration device that fastens to your screen and works with calibration software to optimise display colour for your particular screen and your room’s particular lighting conditions. Devices like the Datacolor Spyder and the X-Rite ColorMunki will measure the ambient light wherever you are and recommend optimal calibration settings.
Before beginning the process, let your monitor warm up for about 30 minutes. Avoid shining direct light on your monitor and make sure the ambient light conditions are similar to those when you perform colour adjustments on your work.


White point.
There’s no such thing as a purely white light. Just as the hottest part of a candle’s flame is blue, a hotter white will have a bluish tint. Cooler whites will have red, orange or yellow tints. With modern monitors, the white point is the temperature setting (measured in degrees Kelvin) that determines the warmth or coolness of your whites. If you’re working with video on an LCD monitor, the recommended white point is 6500K or D65. This is also known as the native temperature of your monitor. If you’re working with still images that you plan to print, the white point of 5000K (D50) is recommended, as it looks more like white on paper.
Gamma settings.
Gamma is the rate at which shades go from black to white. A higher gamma value has the same extremes of black and white as a lower gamma value, but it will produce greater contrast within that range. The recommended gamma setting depends on how you expect your video to be watched. For a screen situated in a bright room, like an office, the recommended display setting is 2.2. This is the standard setting for Mac and Windows machines. For screens in dark rooms like home theatres, the recommended setting is 2.4, because in a darker room contrast is easier to see.
Luminance.
Luminance is the intensity of the light the screen emits, also known as brightness. It’s important to keep this setting consistent when you’re doing colour correction, so you don’t correct one scene at one brightness level and another at a totally different level. The recommended brightness for a standard LCD screen is 120.
Once you’ve confirmed your monitor settings, the automatic calibration process will begin. The colorimeter will test your monitor’s colours against industry colour standards, map the variations and create a unique colour profile (also known as an ICC profile) for your monitor. With an accurate profile, you can pinpoint exact shades of colour and communicate those across devices.
How often should you calibrate?
Professional colorists recommend you calibrate displays at least once a month to ensure your colours stay consistent, especially as your monitor degrades and its colours change over time.
Others argue that technology has advanced to the point that colour on all devices is essentially good enough. If exact colour isn’t your top priority, you can test your videos on a few different devices to make sure nothing is drastically wrong. That’s the approach director and producer Taylor Kavanaugh often uses. “Our viewers are viewing our content on an iPhone or iPad or Samsung television, so we always look at it on all the formats that we know it’s going to be looked at,” Kavanaugh says.
If colour accuracy isn’t a top priority for you, you can always play it safe by avoiding major colour adjustments. “If you’re staying in the generic scope, keeping everything kind of even, usually that will translate through different devices pretty well,” says colorist and editor Gerry Holtz. “The problems begin when you push things. If you crush the blacks or add a lot of contrast or oversaturate the colour, on a different device that might go too far.”

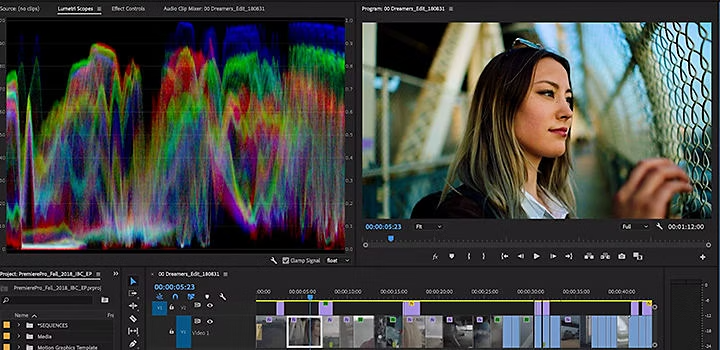
Discover the Lumetri Colour panel.
Watch this tutorial for tips on mastering white balance, colour balance and more.
Whether you calibrate your monitor with a colorimeter or your system’s calibration tools or you simply compare colour on different devices, remember there’s no substitute for good raw footage. Before you begin shooting, make a shot list and put time and energy into properly lighting your shots. Then, when you get into the editing room, you’ll have dynamic images you can adjust to fit your artistic vision.
