Photography
Retouch photos in Adobe Photoshop.
See how visual artist Gabriel Isak retouches an image in Photoshop.

Take a quick one-minute look at Isak’s touchup technique in the steps below.
Clean it up.
Removing minor blemishes and imperfections from your photos can have a major impact. Learn from Swedish visual artist Gabriel Isak as he retouches a photo in Adobe Photoshop by brushing away distractions with the Healing Brush, repositioning key elements with the Content-Aware Move tool and eliminating small imperfections with the Spot Healing Brush.

Based in Sweden, Gabriel Isak is a visual artist who focuses on themes related to psychology and dreams in his work. He received his BFA in photography from San Francisco’s Academy of Art and has since exhibited his work around the world.
Before you start retouching photos.
Use these sample images or practice with your own.
Step 1: Brush away distractions.
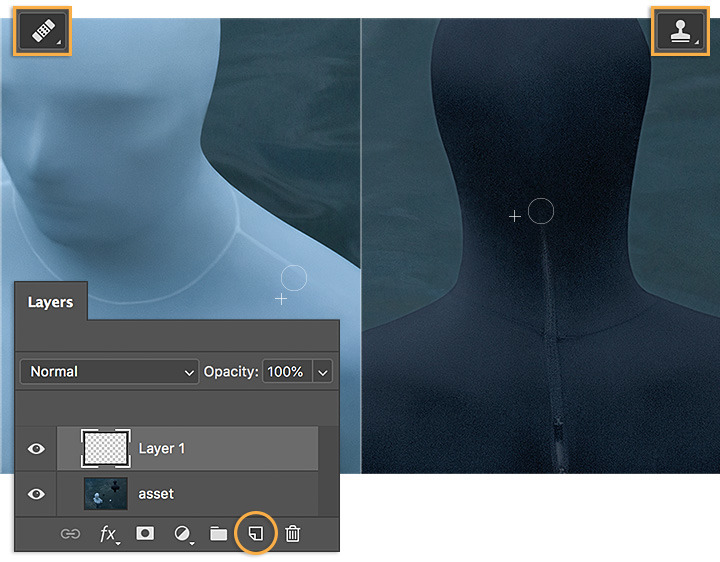
Isak selects the Healing Brush and brushes over the seams, zip and wrinkles in his photo. Each time you move to a new area, reset the source point for the brush using option-click (or alt-click).

Step 2: Reposition elements.
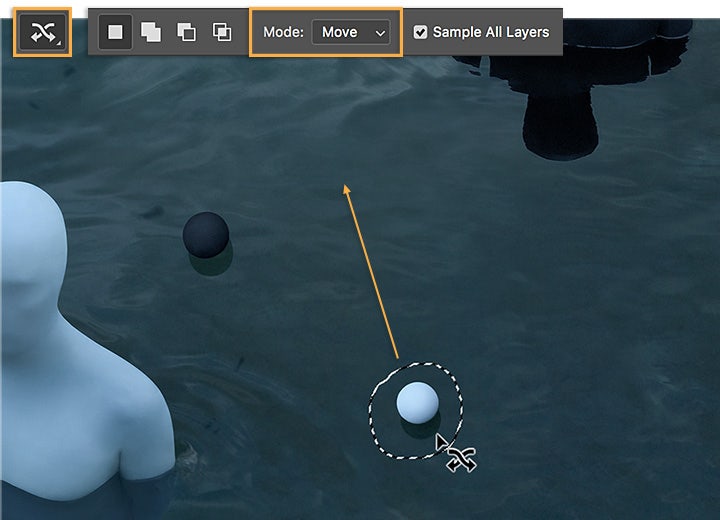
The Content-Aware Move tool, nested under the Healing Brush, allows Isak to easily move objects around. He makes sure that Mode is set to Move in the Options bar, draws a selection around the white ball and drags the object to its new position.

Step 3: Eliminate imperfections.
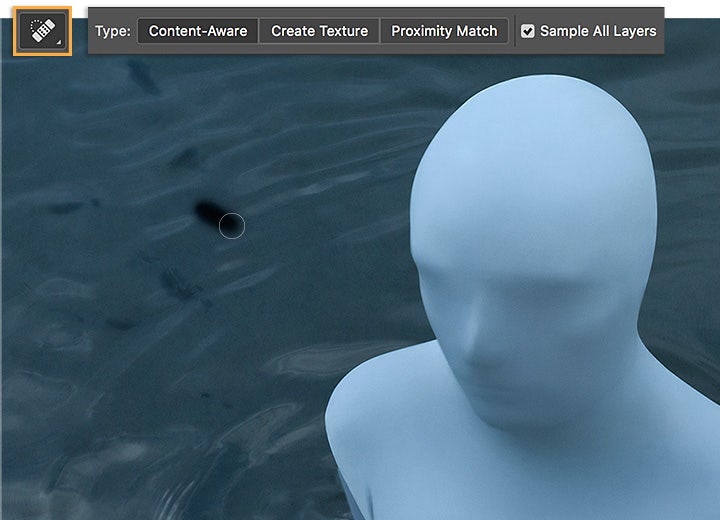
Isak notices small imperfections around the white figure and uses the Spot Healing Brush to remove them.

Step 4: Never settle.
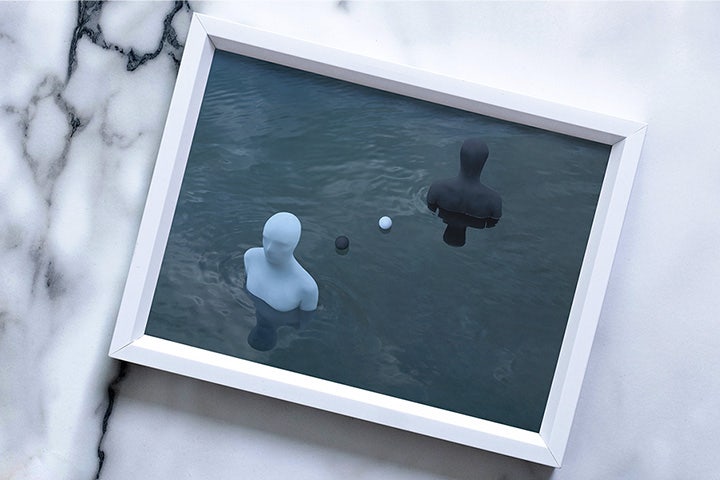
With a few simple adjustments, you can turn an almost-perfect photo into a perfect one.

