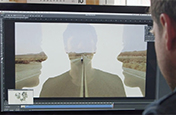
Whip pans: Explore this simple filmmaking technique.
Simulate fast movement or the passage of time with this method used by the world’s best filmmakers. Plus, learn how to add blur effects in post-production.
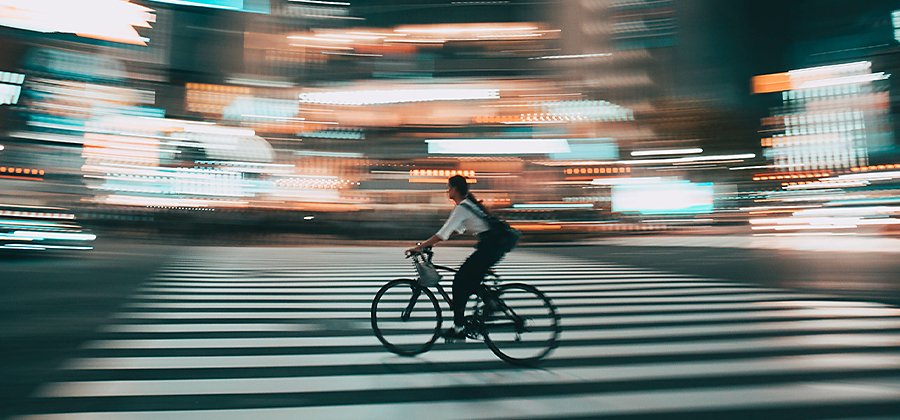
Camera panning for gold.
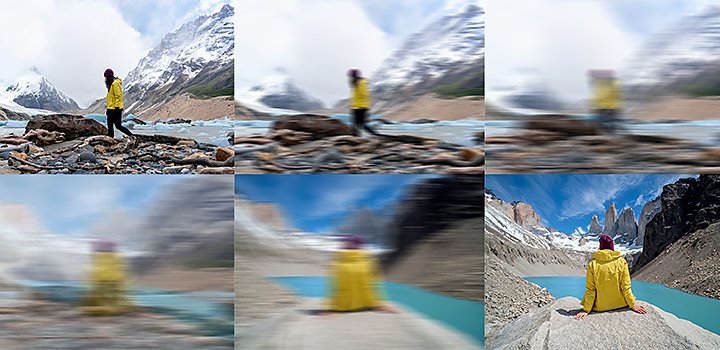
A whip pan shot, also known as a swish pan effect, is a cinematography term that describes a camera movement that literally whips the camera back and forth on its x-axis to create a disorienting motion blur effect.
“You’re naturally blurring the frame, so you can whip into the next scene, essentially hiding an edit,” says editor Cody Liesinger. Often used as a transition, whip pan shots can simulate physical movement or create a sense of high energy, like in an action scene or music video.
Add to your filmmaking arsenal.
Whip pans are a versatile storytelling tool. Not only are they useful to illustrate speed, but they can inject a scene with a jolt of frenetic energy, even in a potentially mundane situation, like back-and-forth dialogue between characters. If you want to replicate the feeling of a subject moving through space, like a knife being thrown, whip pan transitions are perfect. Add sound effects to heighten the urgency even further.
Notable filmmakers like Edgar Wright, Sam Raimi, and Wes Anderson have all incorporated whip pan shots into their work for humor, horror, and heart respectively. If your piece features a montage, whip pan transitions can be a good change of pace from the norm. Just make sure you consider the direction and speed of your whip pan for visual consistency from one shot to the next.
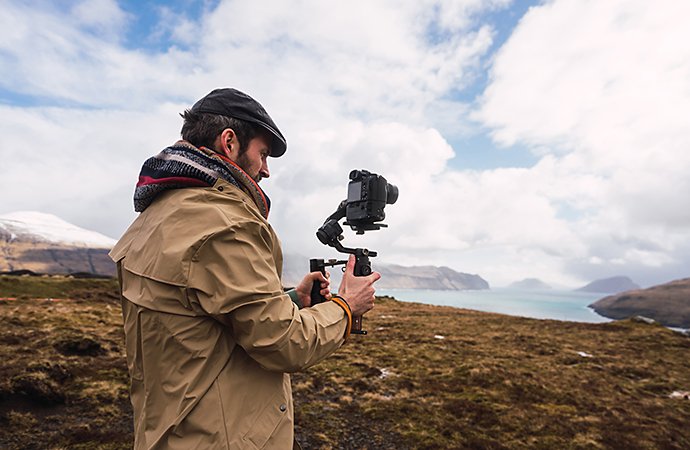

What you need for a whip pan.
Whip pans can be done in many ways, with or without equipment. “I’ve done them handheld, I’ve done them on stabilizers,” says videographer Nainoa Langer. “It just depends on how quickly you get the camera away from whatever you’re shooting.”
Regardless of gear, you’ll need to plan ahead if you want to add a whip pan transition to your next clip. Though you can add a whip pan in post-production, it can be easier to work with when you do it in-camera. “It just looks more intentional," Liesinger says.
Consult your storyboard to see where whip pans might fit naturally into the plot. Use a shot list to ensure you capture them in-camera during your shoot. Take into account your shutter speed before you start to shoot. If your speeds are too high, the motion blur effect you desire will come across as unnatural. Very rarely will you get a whip pan that’s perfect in one shot, so be sure to shoot multiple takes to find the ideal blur effect on your next clip.
If you need to fine-tune your footage, Adobe Premiere Pro is more than up to the task. You can add effects to your work that recreate in-camera techniques like a whip pan.
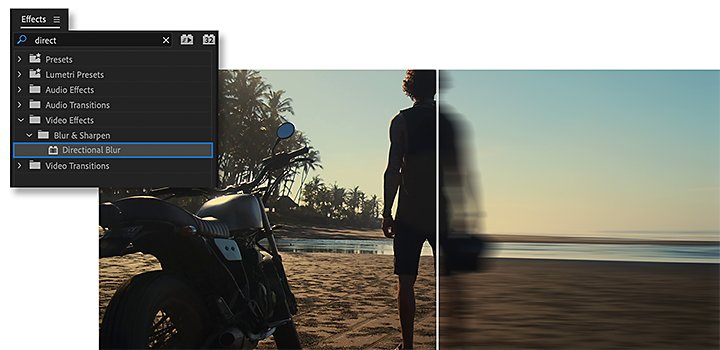
Add whip pan transitions in Adobe Premiere Pro.
Amplify your transitions in post-production with this quick tutorial:
1. Import your footage.
2. Add clips next to each other on your timeline.
3. Go to File and select New, then choose Adjustment Layer.
4. Drag the Adjustment Layer to the timeline over the simple cut between the two clips.
5. At the space between clips, trim the Adjustment Layer so that it’s about five frames to the left (your first clip) and 10 frames to the right (the clip you are whip panning into).
6. Click the Effects tab, and search for Offset.
7. Drag this effect onto the the Adjustment Layer, and then set the timeline cursor to the beginning of your first clip.
8. Move to the end of the Adjustment Layer, and shift the number to negative.
9. Click Effects again, select Directional Blur, and add it to the Adjustment Layer.
10. Switch the direction of your blur to 90 degrees, then drag it in between the two clips: Switch the blur length from 0 to 130 and back down to 0 again.
You can further customize the transitions in your project or even animate your credits and titles with Adobe After Effects. Powerful features like Content Aware Fill and Roto Brush make it easy to add and remove graphics and effects from your footage long after the cameras stop rolling.
Achieve more with Adobe.
Whip pans can add polish and even showmanship to your next production. If you want high-quality edits done, make Premiere Pro your go-to video editing software. Comprehensive tools allow you to trim and edit your clips, add transition effects, and even change the color grade, all in the same workstream.
Contributors
Do more with Adobe Premiere Pro.
Make visually stunning videos virtually anywhere — for film, TV, and web.
You might also be interested in…
Understanding camera shots in film
Explore the most common camera shots, and learn when and how to use them to greatest effect.
How to get started on storyboarding.
See how this artistic storytelling skill helps bring ideas to the big and small screen.
Establishing shots are crucial because they tell us where, and often when, the action is happening.
Heighten the artistry, efficiency, and emotional depth of your work with these useful techniques.
Get Adobe Premiere Pro
Create flawless productions with the industry-leading video editing software.
7 days free, then AED88.20/mo.


