How to use, and break, the rule of thirds.

Get the basics of this composition guideline, and exceptions to it, to help improve your photography.
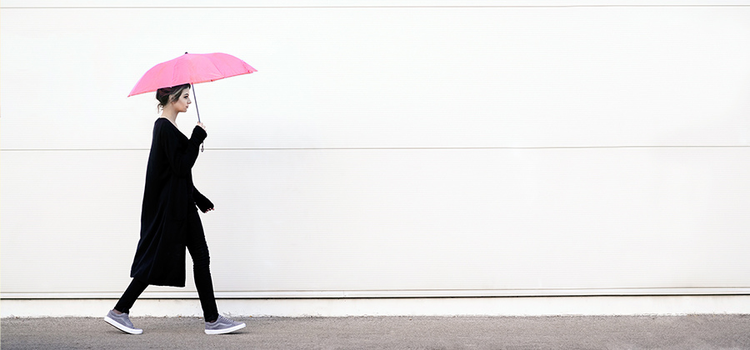
Using the rule of thirds to photograph a female walking with a pink umbrella

“It’s not really a rule. It’s more of a guideline or best practice,” photographer and designer Shawn Ingersoll says of the rule of thirds.


Does every successful photo follow the rule of thirds? Definitely not. But every skill or art is built on certain foundations, and understanding and mastering them are important for improving your abilities. Repetition is king when it comes to honing foundational skills. Practice leads to muscle memory and building trust in your eye, which eventually becomes an instinct for what works and what doesn’t in photography.


“The more you do it, the more it gets ingrained into your head.”
 

“If you are tuned in to the imagery we see around us, I feel like you sort of absorb [the rule of thirds] even if you can’t put your finger on it,” photographer, author, and instructor Khara Plicanic suggests. “But it’s incredibly helpful for people who are starting out and need a practical tool to help them with their composition.” 


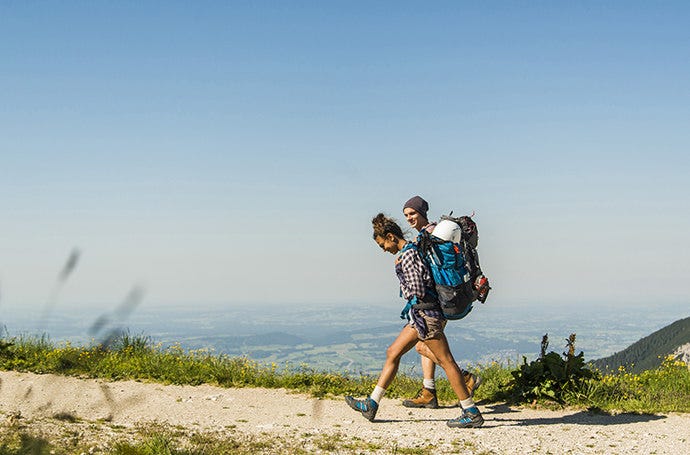
Photo, using the rule of thirds, of a man and woman hiking on a path
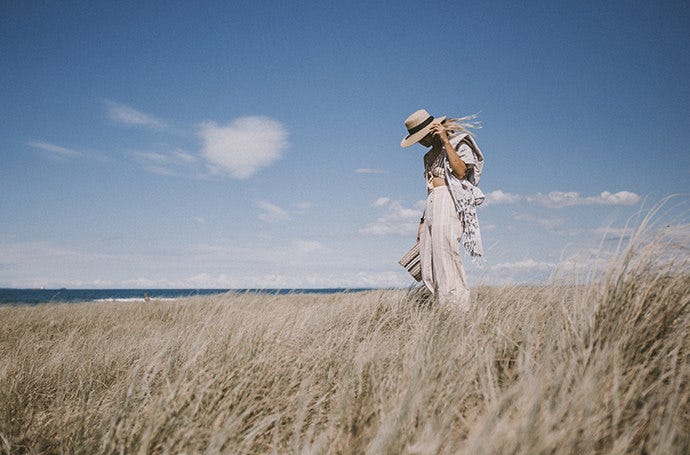
Practicing the rule of thirds taking a picture of a woman standing in a field near the ocean

What is the rule of thirds?

The rule of thirds is a composition guideline that places your subject in the left or right third of an image, leaving the other two thirds more open. While there are other forms of composition, the rule of thirds generally leads to compelling and well-composed shots


If you imagine dividing a photo, or even your camera’s viewfinder, into nine equal zones using horizontal and vertical lines, that forms your rule-of-thirds grid — a setting you can select on most cameras and even on your phone.


“This might be a generational thing, but if you think of The Brady Bunch intro where you have the nine identical rectangles,” Ingersoll explains, “they’re all the same size and it’s three by three — three rows, three columns.”


That means the corners of the central square are the intersection points in your grid where you want to place the focal point of your shot. It’s called the rule of thirds, but you can think of it as giving you four crosshairs with which to target a shot’s important elements. This will help you balance your main subject with negative space in your shot to nail an effective photographic composition that will draw the viewer’s eye.


First-hand advice on using the rule of thirds.

Repetitious, practical use of the rule of thirds is the best way to understand it and hone your skills — at some point, the grid lines and their intersecting points will be ingrained in your brain. Until then, here are some photography tips from working professionals that can help steer your experimentation in the right direction. 


1. Practice with your camera’s rule-of-thirds grid: “Turn it on so you can see what you’re doing as you’re doing it,” Plicanic suggests. “Eventually, you get a feel for it.”


2. Take a rule-of-thirds field trip: “Go to a park or somewhere and try to take ten good pictures that follow the rule-of-thirds model,” says wedding photographer Anna Goellner. “The more you do it, the more it gets ingrained into your head.”
 

3. Keep your eye on the eyes: “Choose where you want your point of focus to exist before you’re shooting. I’m always going for the eyes,” author and animal photographer Carli Davidson says.


Breaking the rule of thirds.

The rule of thirds may not be a hard-and-fast decree, but moving away from an artistic guardrail like this can be intimidating for a beginner. Here are a few examples of where and when experienced pros throw the guideline to the wind:
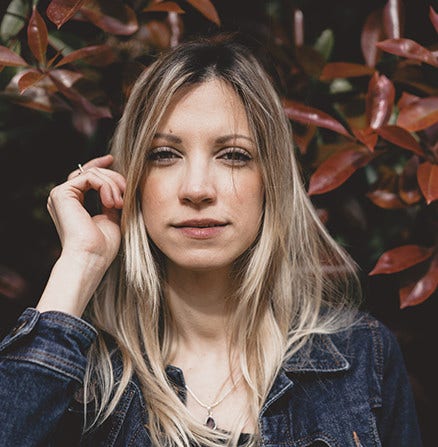
Photographing a woman standing under a bush
Leveraging the rule of thirds to photograph a woman standing on a rock in the ocean
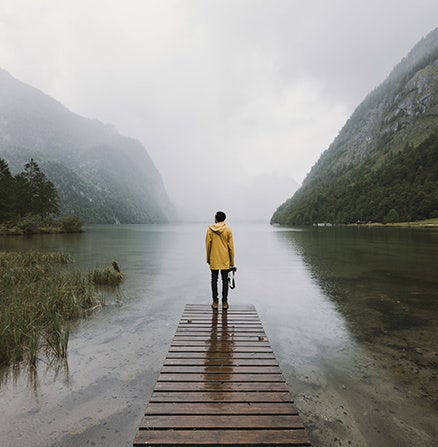
A photographer, standing on a gloomy pier

1. Fill the frame: “Filling the frame is really interesting — when there are parts of an image that aren’t necessarily fully in the frame, or when there’s a subject that’s very much in the foreground of the frame,” art director and photographer Alex Tan says. “I think those are areas where you can really throw the rule of thirds away. For example, I’ve transitioned lately to portraits of people that are perfectly centered.”


2. Pull back from your subject: “If your subject is going to be a really small part of the image,” photographer Derek Boyd suggests, “sometimes the best way to highlight them is to break the rule of thirds and put them almost dead center in the image.”


3. Try a different composition style: “Composing a photo in the shape of the letter Z creates a really nice flow because it’s how you naturally read a page,” photographer Sarah Aagesen explains. “The thought is that this draws you from left to right, and then down through the image and then back again.”


4. Take multiple shots: “Take a shot with your subject dead center, take one with them in the upper right, and one with them in the upper left,” Boyd suggests. “Even if you think you got it in the first shot, you should always take two or three more. You can pick which one works better later.”


Don’t worry, you can always fix it in post.

Getting the shot you want with the camera is ideal. It gives you more visual information on the scene. After the shoot is over, you can’t go back and recapture the exact same moment. But thankfully, with technology, you can always edit for a rule-of-thirds composition after the fact.

Capturing a puppy, the surf, and the ocean stretching to the horizon

“I use Lightroom for my quick edits on everything,” Davidson explains. “I go in and I’m cropping things. I’m seeing how the different elements work and I’m playing with my rule of thirds — it’s great for editing the images.”


As you edit, you’re training yourself once again — working on that repetition for how you see and use the rule of thirds. At first, you might struggle to recognize photos that work with the rule of thirds, but with practice, it will become something you don’t even think about. You’ll just know. Put in the work, and your eye and your audience will thank you.

Contributors

Do more with Adobe Photoshop Lightroom.

Edit photos easily with Lightroom presetsSuper Resolution, easily share photos from any device, and access your projects anywhere with cloud photo storage management.

You might also be interested in…

Ballet dancers performing on stage - Shutter speed photography | Adobe

Understanding shutter speed.

Discover how adjusting shutter speed can help you capture clean shots or motion-filled moments.

Coffee brewing in a coffee shop - Shallow depth of field tips | Adobe

Understanding shallow depth of field.
Explore how shallow depth of field can add dimension to your photographs.

White dog next to the water-Focal length tips | Adobe

Understanding focal length.

Discover ways to select the ideal focal length for any and every photo.

landscape-photography

Building a great landscape photo.
Explore ways to artistically capture scenic views with tips on landscape photography.