Photography
Go into the woods with forest photography.
Get expert advice about everything you’ll need to understand to capture mesmerizing forest photos that will grab your viewers’ attention.

Photography
Get expert advice about everything you’ll need to understand to capture mesmerizing forest photos that will grab your viewers’ attention.
A subset of both landscape photography and nature photography, forest photography is, as it sounds, pictures of wooded areas. It may seem simple, but it’s a unique and challenging type of photography to learn and master.
Forests are considered visually messy. They are made up of different elements that can be hard to capture, from sticks to stumps and rocks, leaves, rivers, and moss. If you want to create a stunning forest image and find serenity within the scenic anarchy, follow these forest photography tips to plant a seed of inspiration for your next project.
Before you go out and shoot, research and — if possible — visit the location you want to shoot. Take notes of the weather conditions, lighting (at different times of day), wildlife, and anything else that might factor in to your forest pictures. Highlight areas that have interesting compositions for reference. If you can, drop a pin via a GPS app to help you find those exact locations again.
“A lot of scouting is just going out for a hike and remembering, ‘This location has potential,’” says photographer Patricia Davidson. “I’ll take a mental note and often return under different lighting conditions.”
Don’t be afraid to get off the beaten path, literally and figuratively. Explore unfamiliar areas of the forest to get a fresh perspective on your photos. If you capture an image during the summer, return to that location to take pictures of the autumn leaves. Go beyond your local woods and visit a national park for a fresh perspective and more subjects to capture.
If you can’t get out for a longer research hike, you can find inspiration from landscape photos on social media or via the Discover feed of Adobe Photoshop Lightroom.

Photo by Patricia Davidson
Forest photography is different from other landscape photography in that forests are far more forgiving when it comes to light. Unlike some scenes that look best on a sunny morning, forest pictures work nicely when it’s gray, cloudy, or even rainy, as it can streamline the scene and add a more intimate, personal feel.
Plus, sunny days can make a potentially chaotic scene in the trees with bright beams of sunlight and dark shadows leading to too high a contrast in your forest photos. To achieve the best results, return at a different time of day, like early morning or around sunset (called the golden hour) when the sun is low in the sky. Take advantage of the warm, diffused light it provides for beautiful forest images.
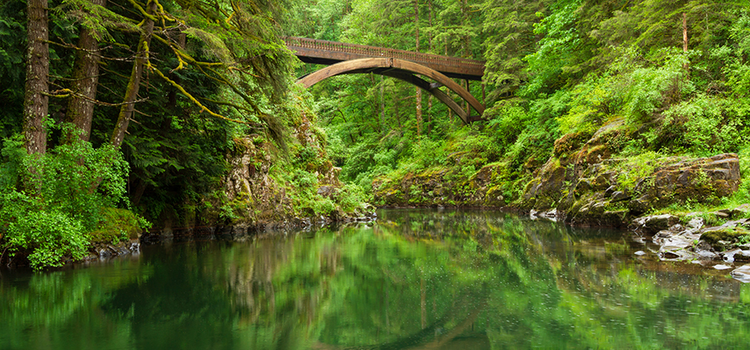
While a landscape can look beautiful in its own right, try and find an element in your forest that sets your scene apart. The forest is the visually noisy hub of an ecosystem, so spot segments of interest within it. Find a fascinating stream or unique tree trunk that can be the focal point of your photo. Shoot up at branches in the canopy of the forest to capture a bigger-than-life feeling.
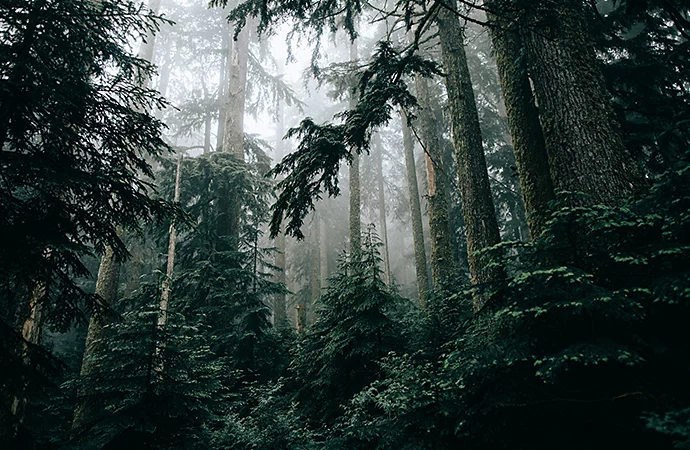
Use leading lines, created by natural paths and fallen trees, to set your scene and direct the viewer’s attention to your main subject in the right circumstances. You can even use the dark shadows made from sunrays as leading lines. Light can enhance the sense of depth, but remember that it can blow out images too. If you don’t have the right light, fog and mist work well to give your pictures an authentic feel.

Photo by Amanda Lopez
You’ll need certain gear to capture wooded areas in all their glory.
1. Camera body
Get familiar with all aspects of your camera and camera settings before you start to shoot. Practice in manual mode, try out different ISO settings, and more to learn what you like. Shoot with RAW images to make your edits easier in post-processing. “The first thing you need to do is get familiar with the camera you bought. You don’t want to be in a situation where some good light is happening, but you don’t know the settings of your camera,” Davidson says.
2. Wide-angle lens
A staple of landscape photography, this lens has a significantly smaller focal length than a standard lens. Wide-angles allow more of a scene to be photographed without moving farther from the subject. “I’ll always bring some sort of wide-angle lens. Most of the time, the 16mm to 55mm works pretty well in those kinds of situations,” says Davidson.
3. Telephoto lens
This lens’s physical length is shorter than the focal length, which creates a magnifying, zoom-like effect. Use a telephoto lens longer than 50mm to produce the best forest images possible with less background blur.
Generally, a lens within the range of 70 to 200mm f/2.8 is preferred for forest photography, as that combination best re-creates the way our brain visually processes object-to-background relationships.
4. Macro lens
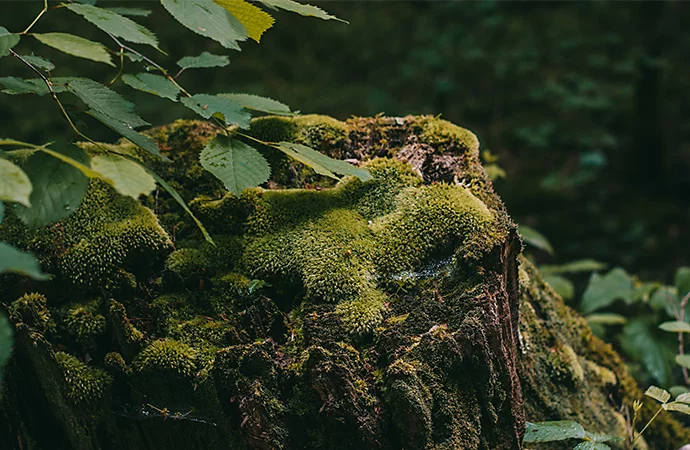
Used for shooting small subjects, macro photography makes small objects appear larger than life. With a macro lens, you’re able to focus from infinity to 1:1 magnification, which will make the image reproduced on the camera’s sensors the same size or larger than the real-life object. Perfect for when you want to get up close and personal with the forest floor and the things that populate it.
Keep in mind that you will have a shallow depth of field when you shoot at such close range, and keeping the camera still with a tripod or mount is essential for capturing crisp shots of small subjects.
5. Tripod
A tripod is recommended for most environments, but it’s vital to capture your best forest photos when a strong breeze can put every leaf in motion. Tripods not only help avoid camera shake but also can help you take sharper images, even in low light, as the canopy of trees can give off dark shadows.
“In the forest, you want to use a tripod because you’re not going to have that much light. Without one, you’re going to go home with blurry images,” says photographer Joseph Filer.
You also can set up long exposure photos with a slower shutter speed that you couldn’t achieve without a tripod.
6. Circular Polarizer
Because it’s typically best to shoot forests on an overcast day (because brightness can wash out the vibrancy of your photos, as mentioned), this filter reduces the glare from condensation and wetness from rain or morning dew and enhances saturation naturally. This keeps that dynamic color intact, but it will darken excess glare off water in your forest photos.


Here are some helpful hints to make sure your forest photos come out looking as stunning as the wooded areas look in person.

Photo by Joseph Filer
When you’re ready for post-processing, Adobe Photoshop Lightroom has the tools you need to amplify and organize your striking and beautiful forest photos. Quickly straighten and crop your image, add effects and filters, adjust colors, and more, all within the same workstream. Once you fine-tune your edits, Lightroom Presets make it easy to apply your favorite adjustments quickly. With Adobe Photoshop integration, send photos back and forth without losing your train of thought.
Contributors
Patricia Davidson, Joseph Filer
Based on your location, we think you may prefer the United States website, where you'll get regional content, offerings, and pricing.